Yesterday I tried out my new box of egg replacer. I’m using OrgraN No Egg, widely available in the UK inexpensively, you can also get it in Australia and the US.

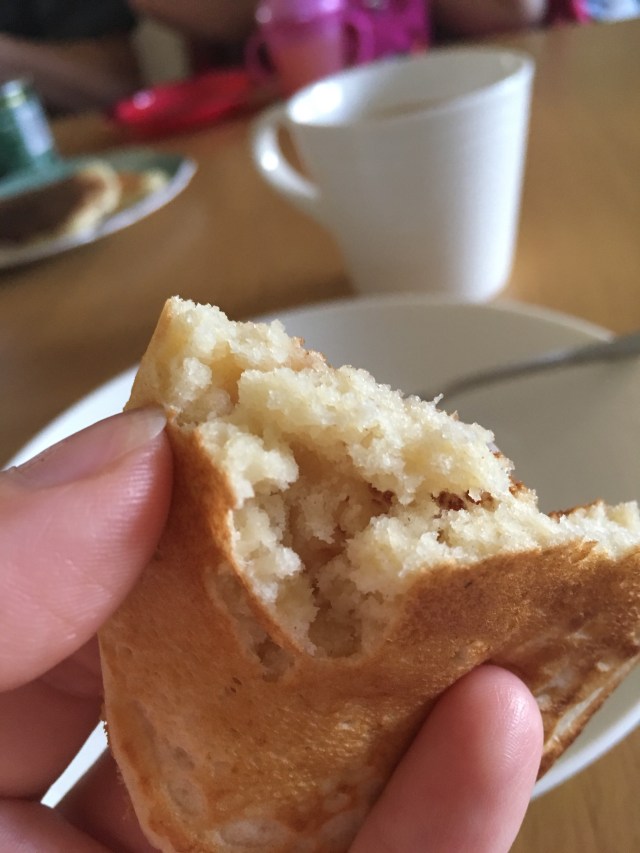
My first experiment was replacing one egg in a box of corn muffin mix (Jiffy). Mixing the ‘egg’ was a bit confusing, the instructions just tell you the powder to water ratio not how to mix or if it should be a certain temperature or left any amount of time. I put the two together and stirred with a spoon, I think I left quite a lot of powder at the bottom of the cup, and used immediately.
My corn muffins rose well but didn’t hold together at all and the taste was slightly off. All in all, not a success!

Later in the day I made a fruitcake. Matt has requested one for his birthday and it needs to be egg free, I thought I should probably practice!
I’ve used a Mary Berry recipe for an easy light fruit cake, copied below, which required 4 eggs. This time I mixed with a whisk until it was a bit foamy, I also put a spoon of batter back into the cup to help scoop out all the dregs. The cake sank a little in the middle when it cooled but I have to confess I was rushing a little and pulled it out of the oven a tiny bit early which probably didn’t help!
The taste was good, it was slightly dense but there was almond meal in the mixture so this felt natural and it was lovely and moist. Matt was happy with it so I’ll be making it again next week for the big day and will be a bit more patient!
Overall, I’m happy with the egg replacer. It’s not quite the same as eggs, or at least I haven’t figured it out yet, but it is a good alternative.
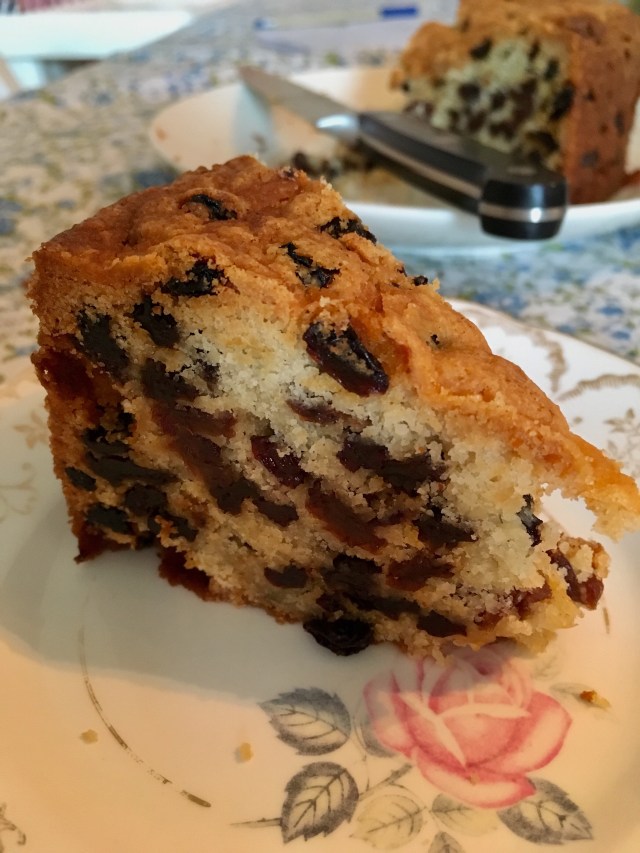
Mary Berry’s Easy Light Fruit Cake
Serves 12
Ingredients
* 225g butter (room temperature) or vegetable spread (at least 70% fat), plus extra for greasing
* 225g caster sugar
* 4 large eggs/equivalent egg replacer
* 225g self-raising flour
* 100g ground almonds
* 1⁄2 tsp almond extract
* 450g mixed dried fruit
* 25g flaked almonds (optional)
Method
1. Preheat the oven to 160°C (fan 140°C/325°F/Gas 3). Grease a 20cm (8in) springform or deep, loose-bottomed round cake tin. Line the base and sides of the tin with baking parchment.
2. In a large bowl, cream the butter or vegetable spread and sugar with an electric mixer or wooden spoon until fluffy, then add the EGG REPLACER a little at a time, beating well between each addition to prevent curdling.
3. Fold in the flour, ground almonds, and almond extract and beat until all the ingredients are thoroughly mixed. Gently fold the dried fruit into the mixture, stirring with a wooden spoon until well combined.
4. Spoon the mixture into the tin and level the top. If you like, sprinkle the surface with the flaked almonds.
5. Put the tin into the oven and bake for one and a half to two hours. Test the cake for doneness with a skewer. If the skewer comes out wet and sticky, return the cake to the oven to cook further. When the cake is done, remove from the oven and leave to cool in the tin.

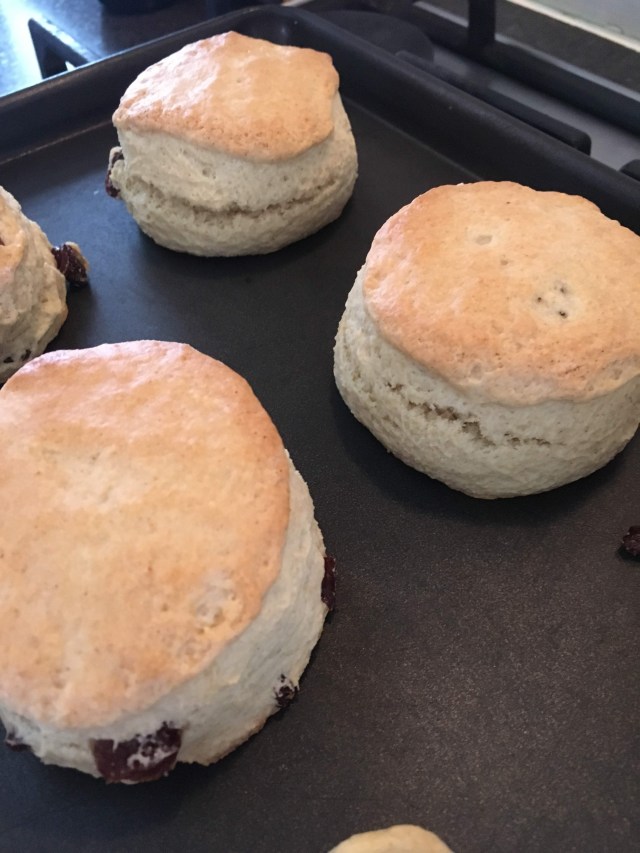 How good are scones?! Afternoon tea with jam and clotted cream. Last minute Saturday breakfast, warm with butter. Stale the next day, perked up in the toaster for an afternoon pick-me-up. Yep scones are amazing.
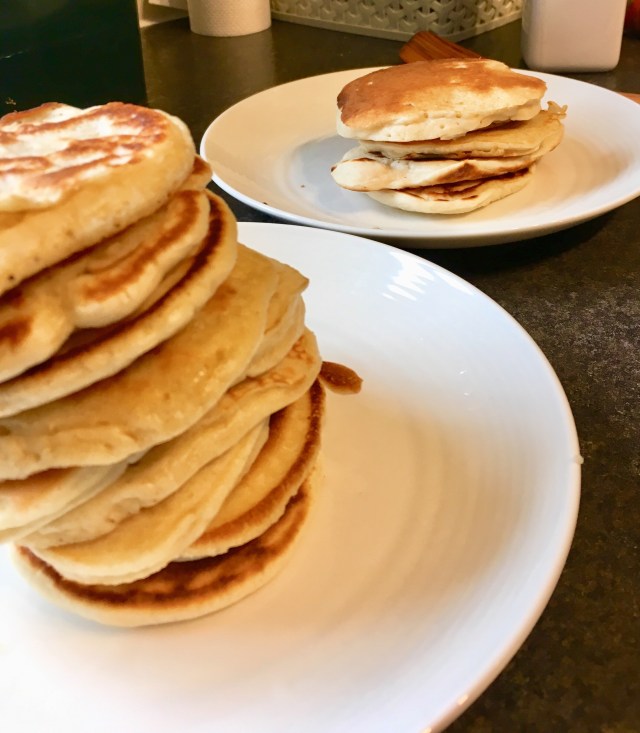
 I just hosted my daughter’s third birthday party and we had a couple of guests who couldn’t eat dairy. I wanted to use buttercream on the main cake so I made some extra cakes and treats to make sure there was something yummy and exciting for these kids to eat.